
DirectX11 공부 2주차. Directx초기화와 셰이더, 버퍼, HLSL
안녕하세요!!
이번에는 1주일동안 Directx11 더 공부하고왔습니다.
Directx12는 Directx11기초부분 끝내고 시작해야될것같습니다.
자세히 봤는데 11과는 매우 다르더군요... 명령 목록이라느니 작업 표시줄이라느니..
그래도 11보다는 더 효율적이라니까 반드시 12도 배워야겠습니다!
참고
RasterTek - DirectX 10, DirectX 11, and DirectX 12 Tutorials
The purpose of this website is to provide tutorials for graphics programming using DirectX 10, DirectX 11, and DirectX 12. The DirectX tutorials are written using C++ with HLSL and use shader version 4.0, 5.0, and 5.1. I also have tutorials for different p
www.rastertek.com
2주차. Directx초기화와 셰이더, 버퍼, HLSL
이번주차에서 공부한내용은 이부분입니다.
https://www.rastertek.com/dx11tut03.html
Tutorial 3: Initializing DirectX 11
Tutorial 3: Initializing DirectX 11 This tutorial will be the first introduction to working with DirectX 11. We will address how to initialize and shut down Direct3D as well as how to render to a window. Updated Framework We are going to add another class
www.rastertek.com
https://www.rastertek.com/dx11tut04.html
Tutorial 4: Buffers, Shaders, and HLSL
Tutorial 4: Buffers, Shaders, and HLSL This tutorial will be the introduction to writing vertex and pixel shaders in DirectX 11. It will also be the introduction to using vertex and index buffers in DirectX 11. These are the most fundamental concepts that
www.rastertek.com
후.. 확실히 이거는 기본적인 이론이 뒷받침 되어야할것같다는 생각이 매우들더라구요,
그래서 여러가지 이론설명 사이트를 찾아다녔습니다..
그.. 결과...
최종적으로는 해외pdf파일이나 msdn이 제일 읽기 좋았습니다.
읽은 msdn링크입니다.
https://docs.microsoft.com/ko-kr/windows/win32/direct3d11/overviews-direct3d-11-graphics-pipeline
그래픽 파이프라인 - Win32 apps
이 섹션에서는 Direct3D 11 프로그래밍 가능 파이프라인을 설명 합니다.
docs.microsoft.com
특히!
이번에 input assembler(ia), output merger(om), vertex shader(vs), pixel shader(ps) 등과 같은 입력단계와
렌더링 파이프라인, 깊이 스텐실, 정점 버퍼, 인덱스 버퍼 등은 꼭 이해하고 넘어갈려고 합니다.
이번에는 주로 Directx11의 초기화, 버퍼, 셰이더, HLSL 등을 배웠습니다..
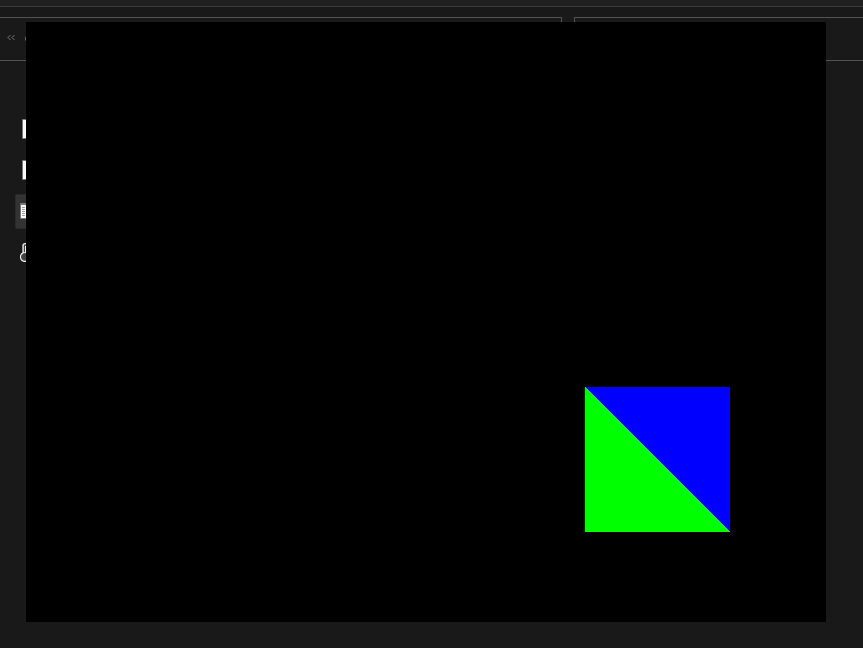
그리고, 원래 저가 참고한 사이트인 rastertek 사이트에서의 예제는 그냥 초록색 삼각형뿐입니다.

저는 이것을 응용해서 삼각형 2개를 합쳐 사각형을 만들었으며,
화살표(up,down,left,right)키로 카메라의 위치이동도 가능하게 직접 바꿔봤습니다.
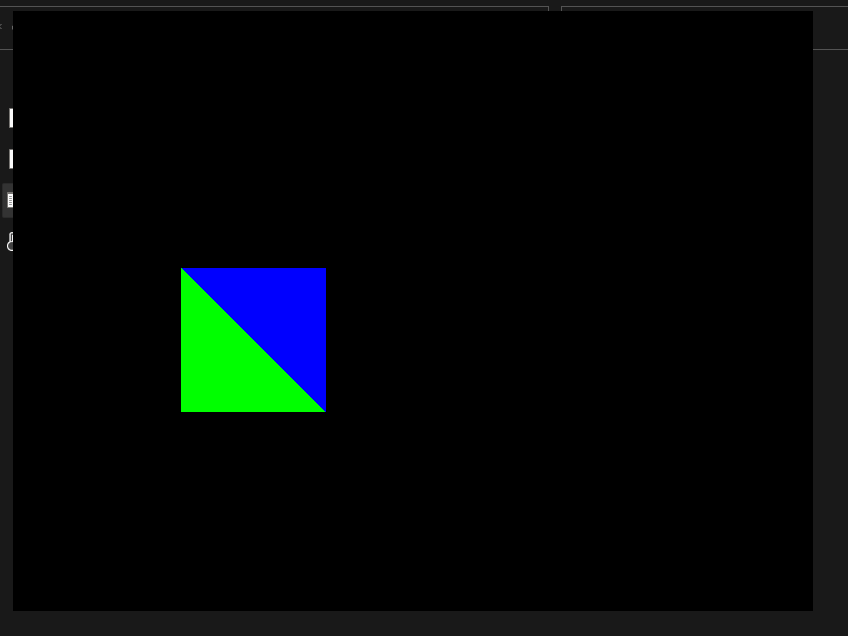
와우~! 물론 배경색도 "graphics_class.h"헤더에서 render -> beginscene함수로 바꿀수 있습니다.
그리고 저가 살짝 개조해가지고 카메라의 위치(position)를 쉽게 화면에서 움직일 수 있습니다.
오예!! 쨩 재밌어!!
아직까지는 몇몇 입력단계관련 이론빼면은 크게 어려운점은 없습니다.
렌더링이라든지 입력단계라든지 이런거는 워낙 추상적이라서..ㅠ
다음에는 텍스쳐 배우고, 그 다음에는 조명을 배우네요!!
2D 도 재밌지만...
3D 렌더링 빨리 배우고싶다 ㅠㅠㅠㅠ
저는 우선 텍스쳐를 공부하기전에 이론공부를 좀 더 한다음에 다음 실습 진도 나가야겠습니다..
나중에 "자체 게임엔진 제작할 수 있는 날"을 위하여!! 오웅우ㅜ~!!!
그럼 안녕!
'🕹️자체엔진 > DirectX 11 개인공부' 카테고리의 다른 글
| DirectX11 공부 6주차. 폰트 엔진, DirectInput (0) | 2021.11.27 |
|---|---|
| DirectX11 공부 5주차. 2D모델 렌더링 (0) | 2021.11.20 |
| DirectX11 공부 4주차. 정반사광, 인스턴싱 (2) | 2021.11.17 |
| DirectX11 공부 3주차. 텍스쳐, 조명, 3d모델 렌더링, 주변광 (0) | 2021.11.16 |
| DirectX11 공부 1주차. 프레임워크 설계및 윈도우 생성 (0) | 2021.11.03 |
댓글